0.00 $
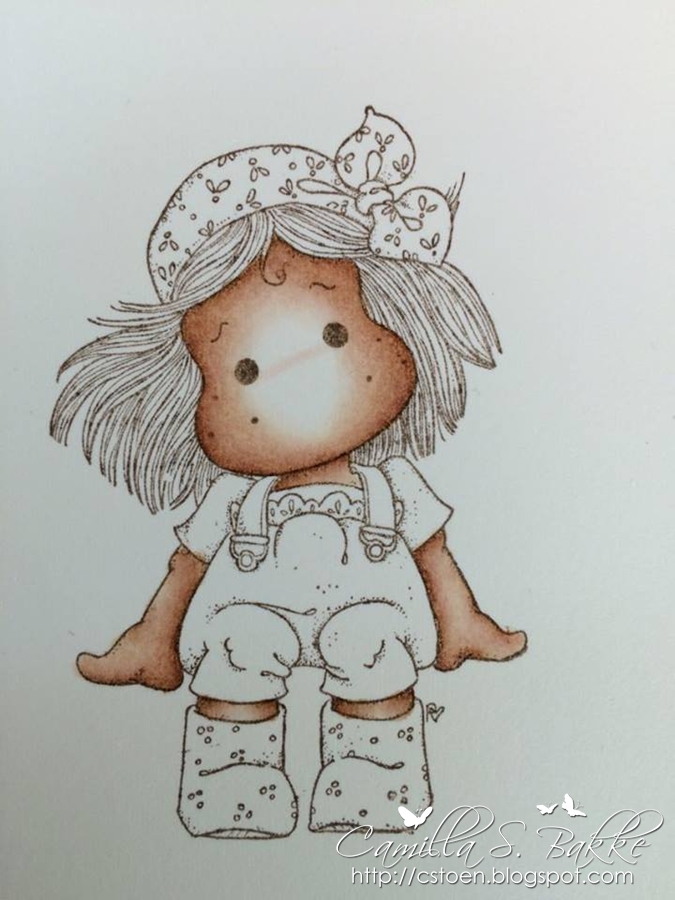
Bee Tilda from the Spring Fever Collection #colouring tutorial ♥♥♥
Hi there Magnolia fans! It is Camilla S. here today with a small lesson on how I coloured this cute little stamp called Bee Tilda. I will also show you some tip on how I put the finished card together.
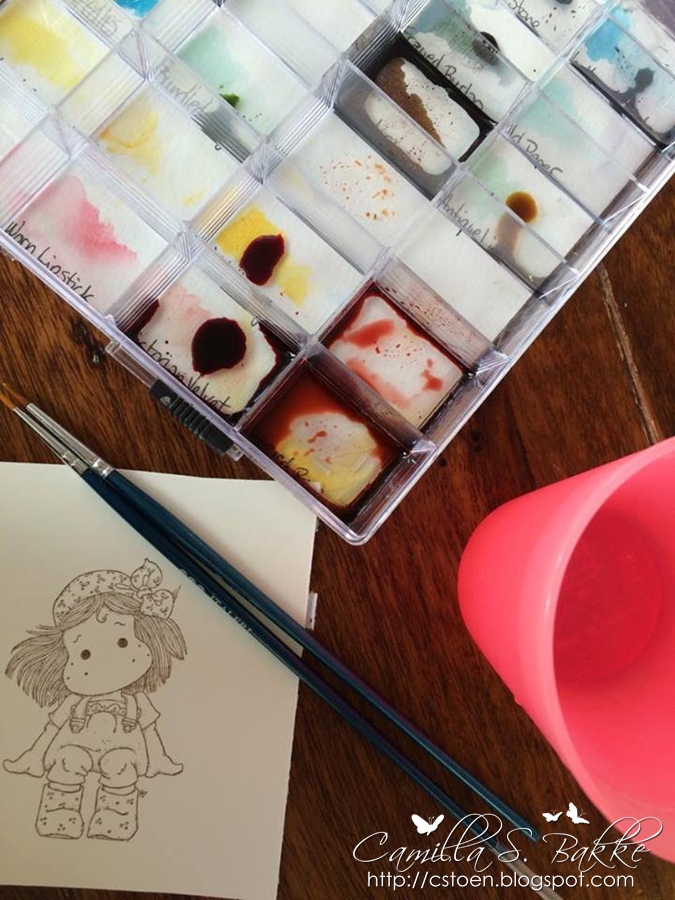
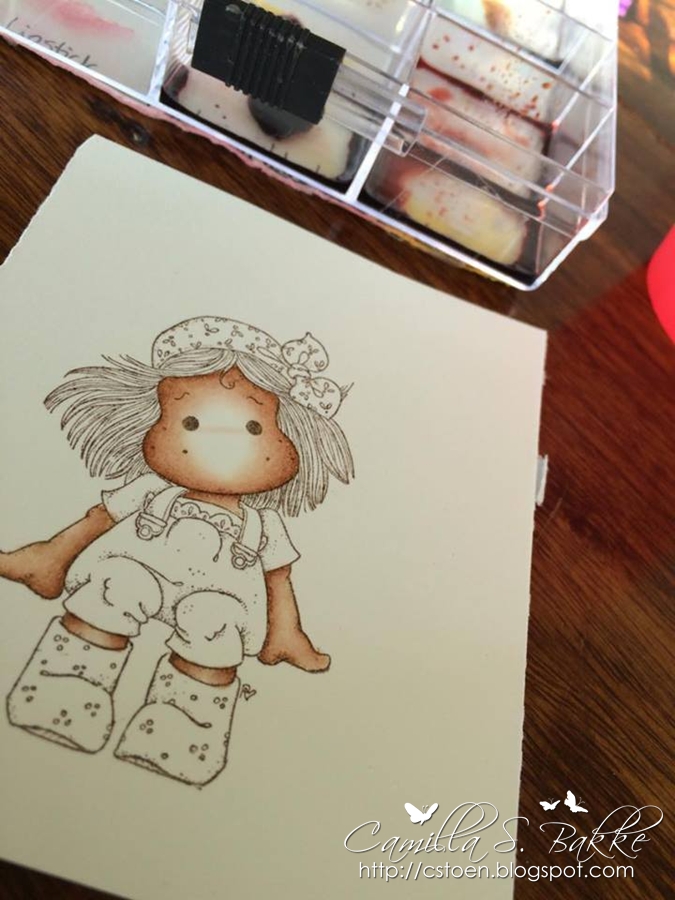
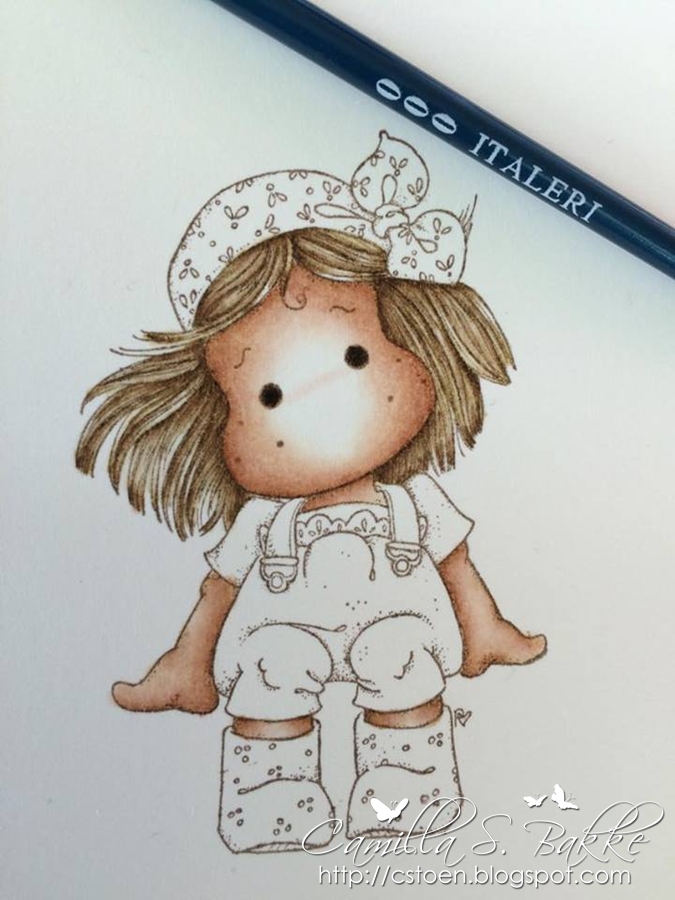
I started with stamping Tilda with Memento-Rich Cocoa on The Langton hot pressed paper. I use bruches size 0 and 000. For my colouring I use Distress Ink-reinkers and Markers. I will show you each step.
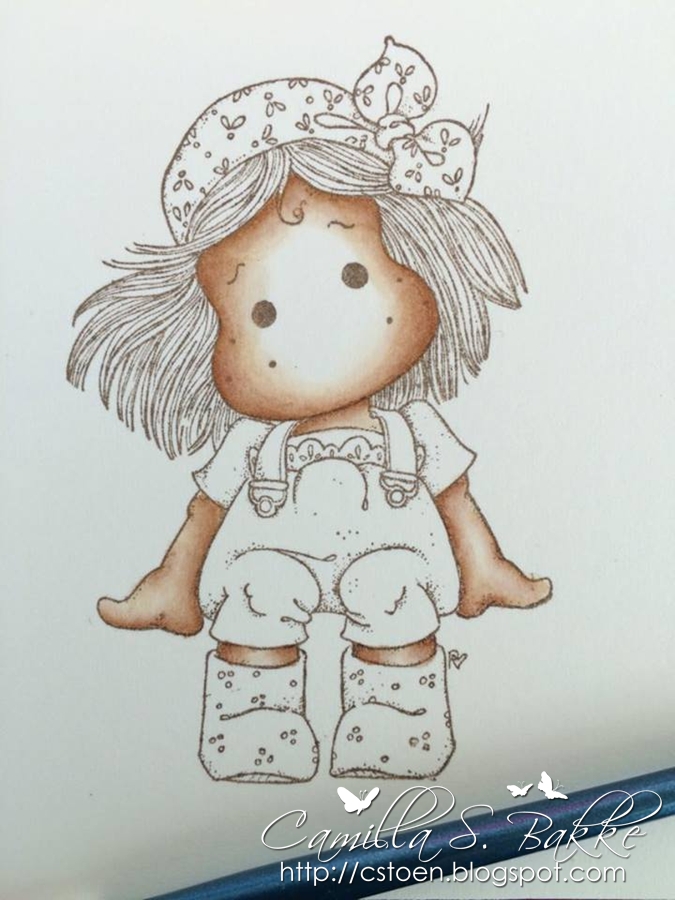
I start with the skin and Vintage Photo, with brush size 0.
Just another angle 🙂
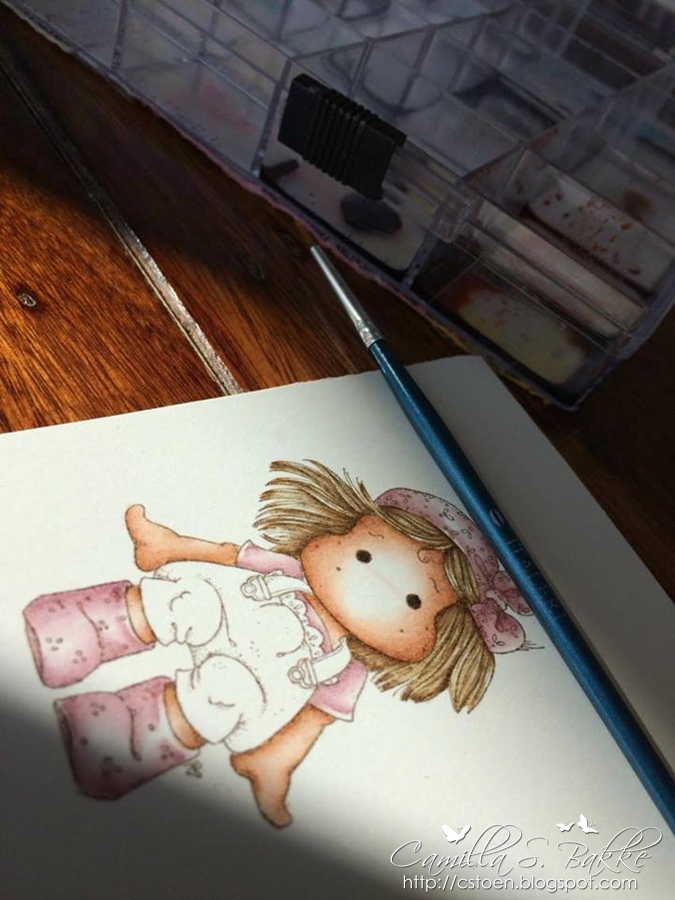
Then I use Tattered Rose all over the Vintage Photo, and a bit longer into Tilda’s face. I use bruch size 0.
Just another angle 🙂
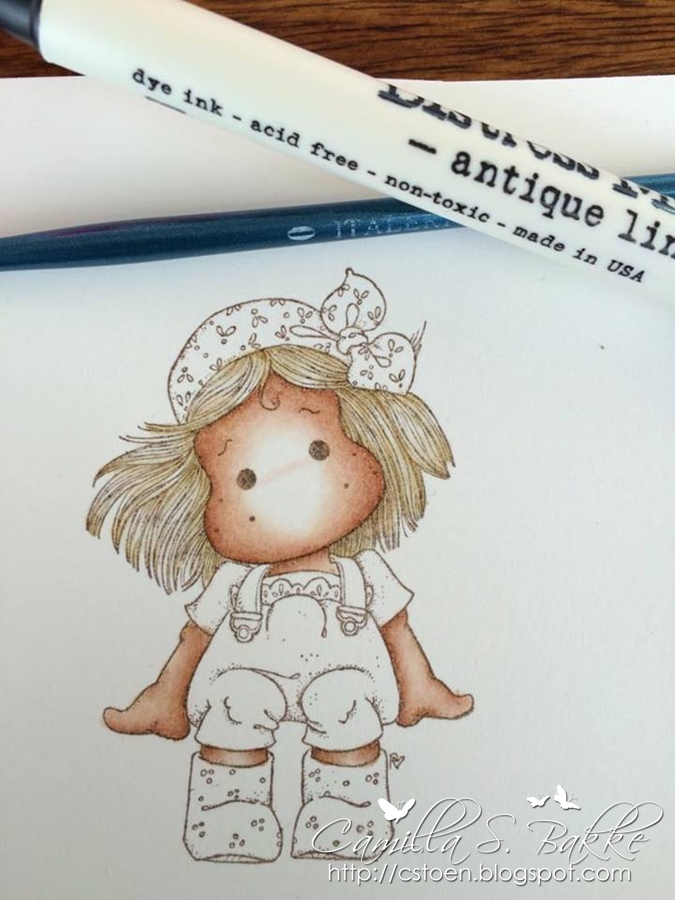
Then I start with her hair, and use Antique Linen – Markers.
Just a closer look at this angle:)
Then I move on to brush size 000, and Walnut Stain, for the darker parts in her hair. I also colour over her eyes again with this colour.
Just another angle.
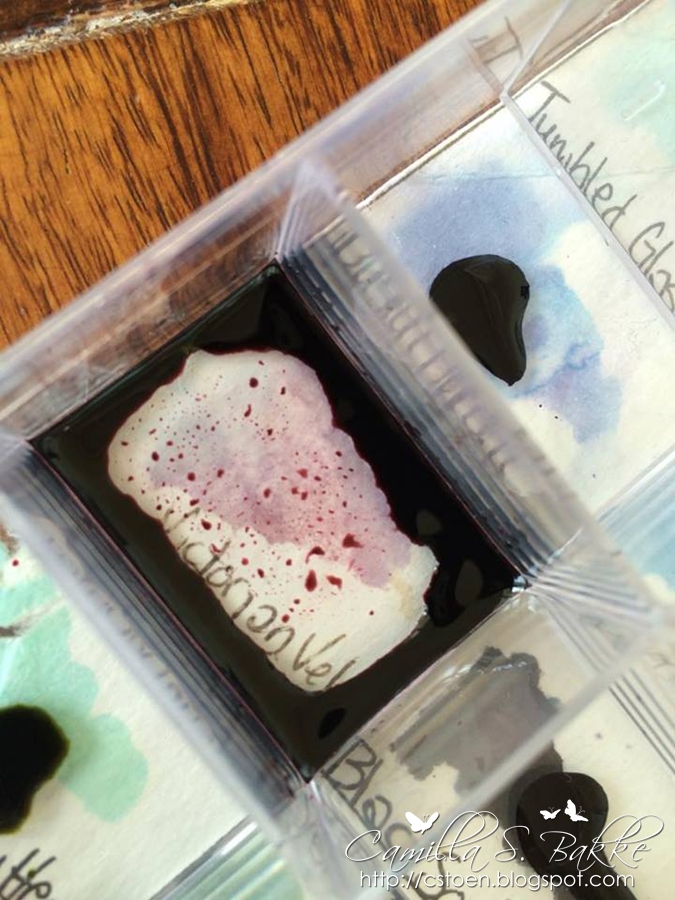
I have decided to colour her in two beautiful spring colours, pink and yellow. For the pink I have mixed together Victorian Velvet and Dusty Concord. It is a colour I use a lot, and I have it in my box.
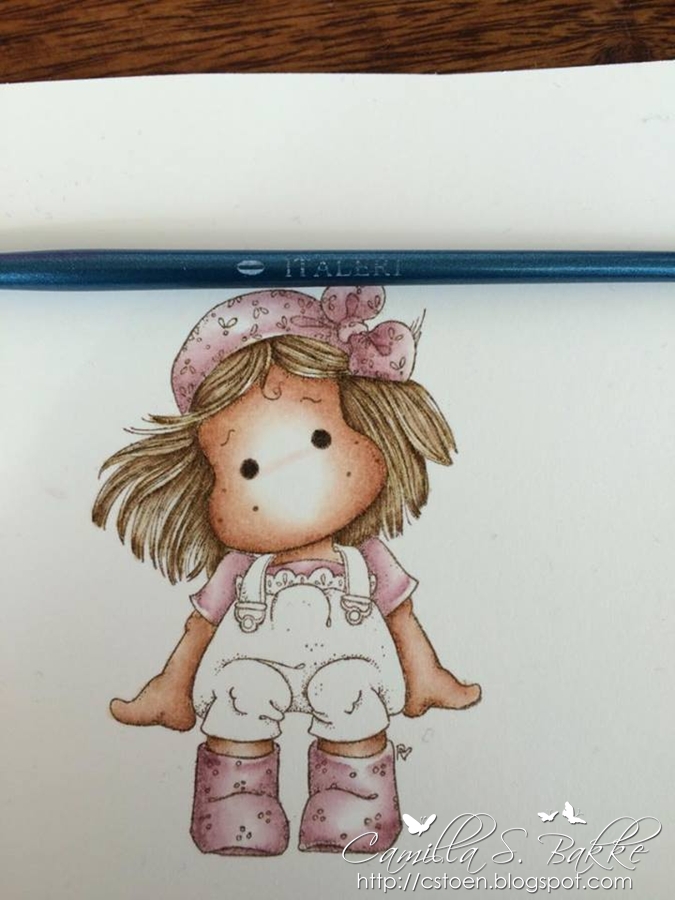
I colour her headkerchief, top and boots with this colour. I use brush size 0.
I add another angle again, it might give you the feeling of looking over my shoulder while I am colouring 🙂

Then I colour her trousers with my favourite yellow, Scattered Straw. Brush size 0.
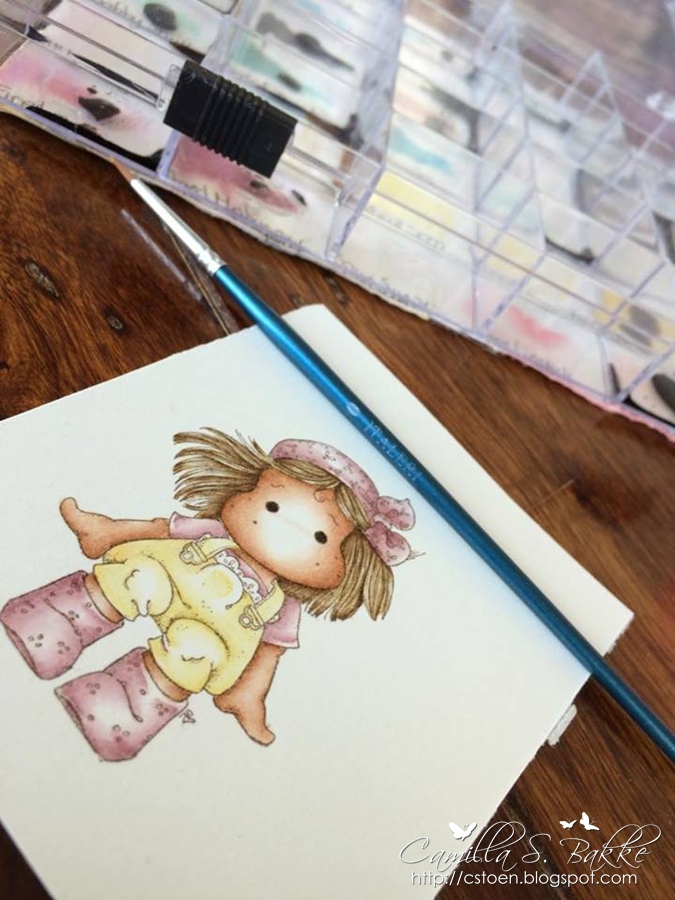
The another angle photo 🙂
I also added Frayed Burlap on the yellow. With brush size 000. This to make it more alive and 3D. And I think those colours mix well together.
And here is a closer look:)
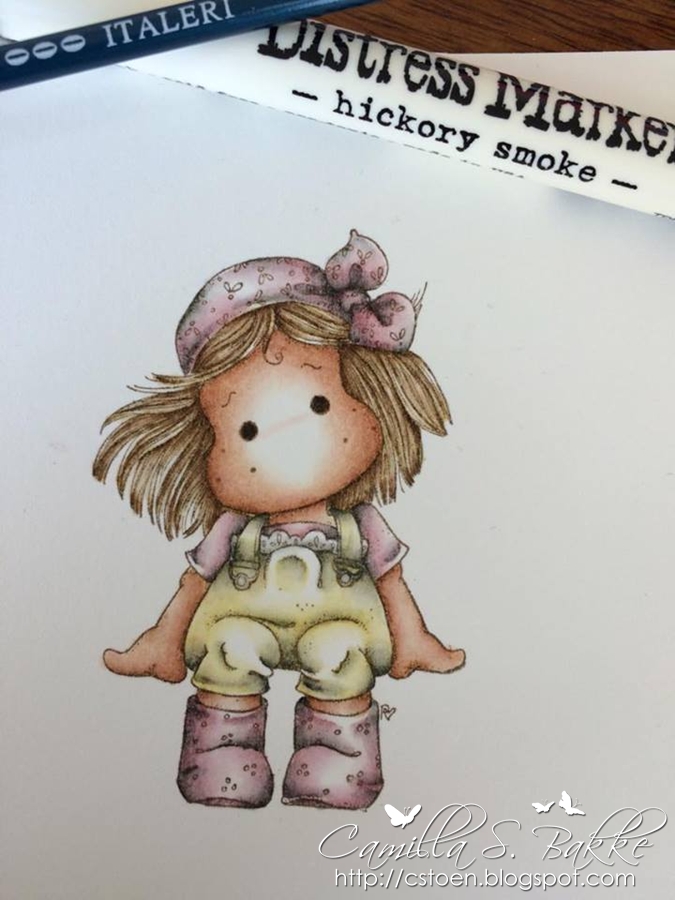
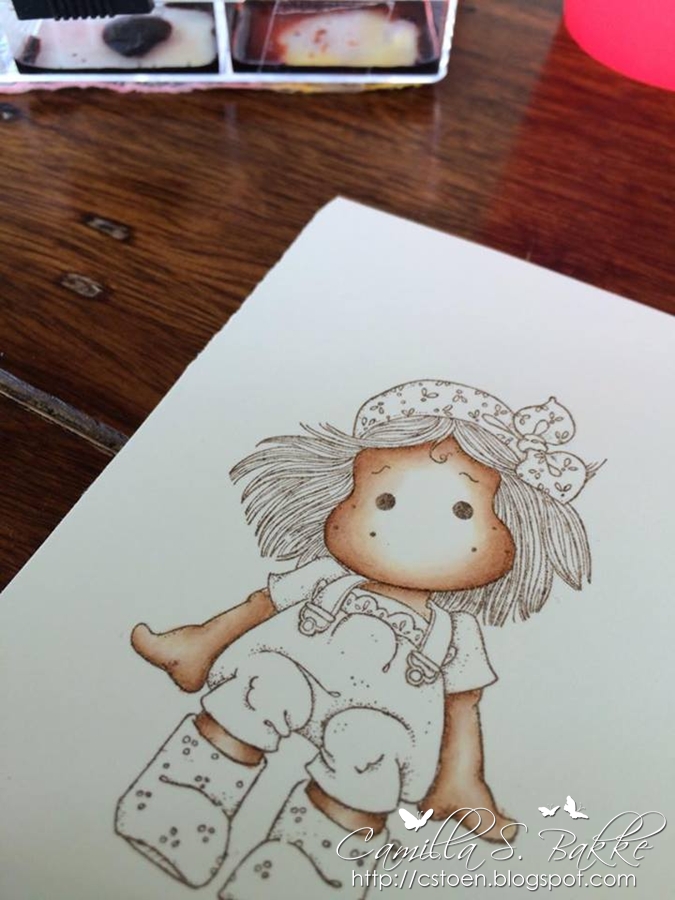
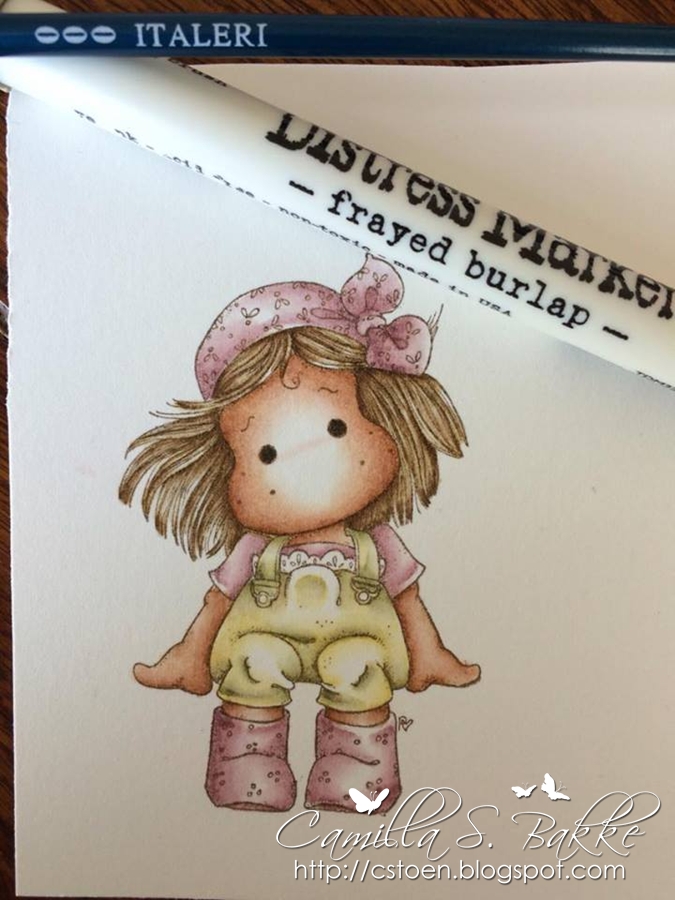
For more 3D-look I use the colour Hickory Smoke – Markers. I add this colour on all her clothes where I want it to be a bit darker. I add this colour with brush size 000.
From another angle:)
I then add the red colour onto her cheeks. Here I use a mix of Tattered Rose and a tiny bit of Aged Mahogany.
Another angle 🙂
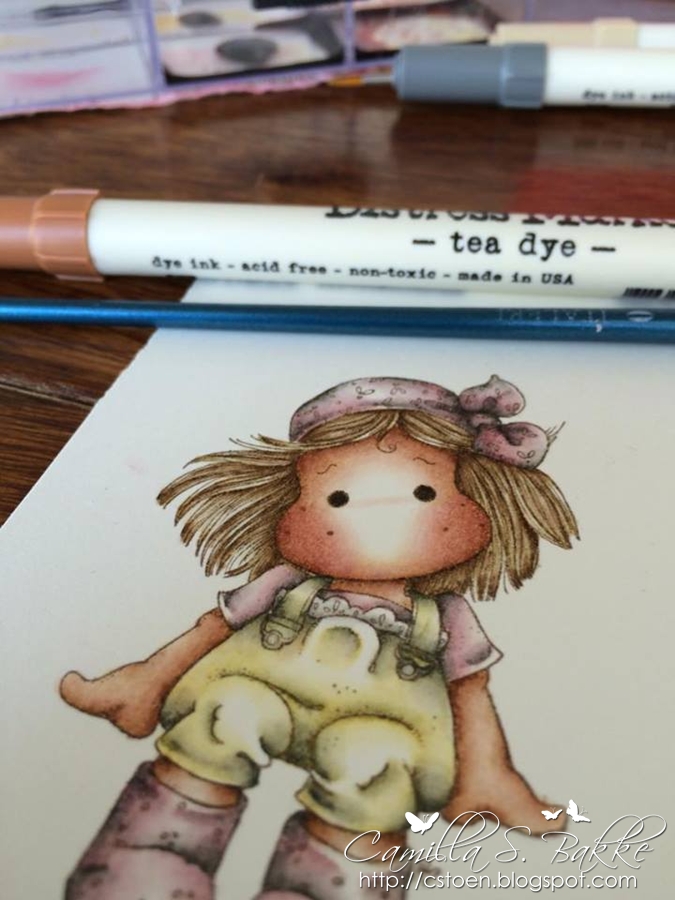
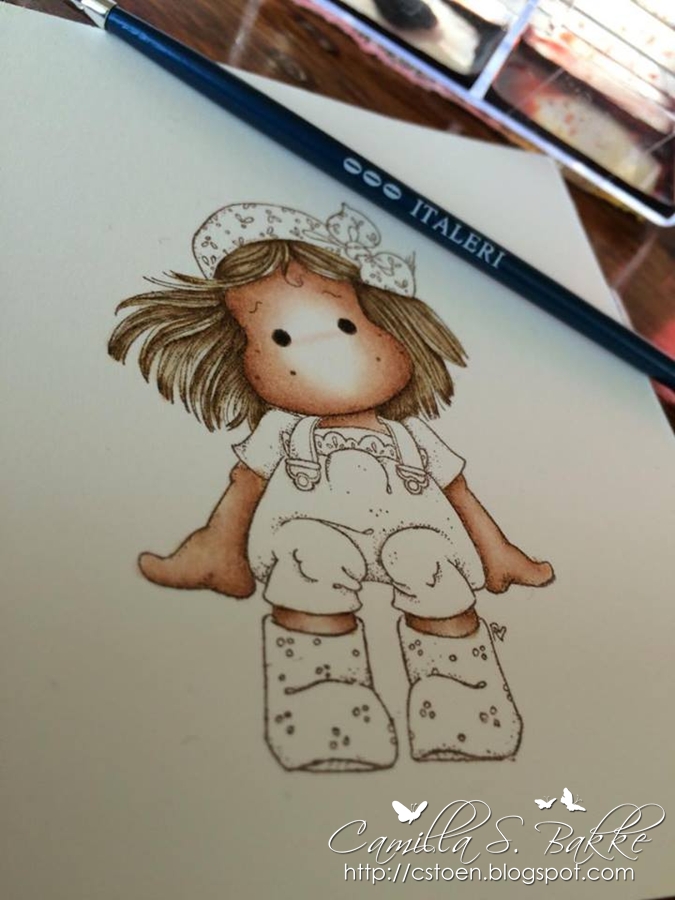
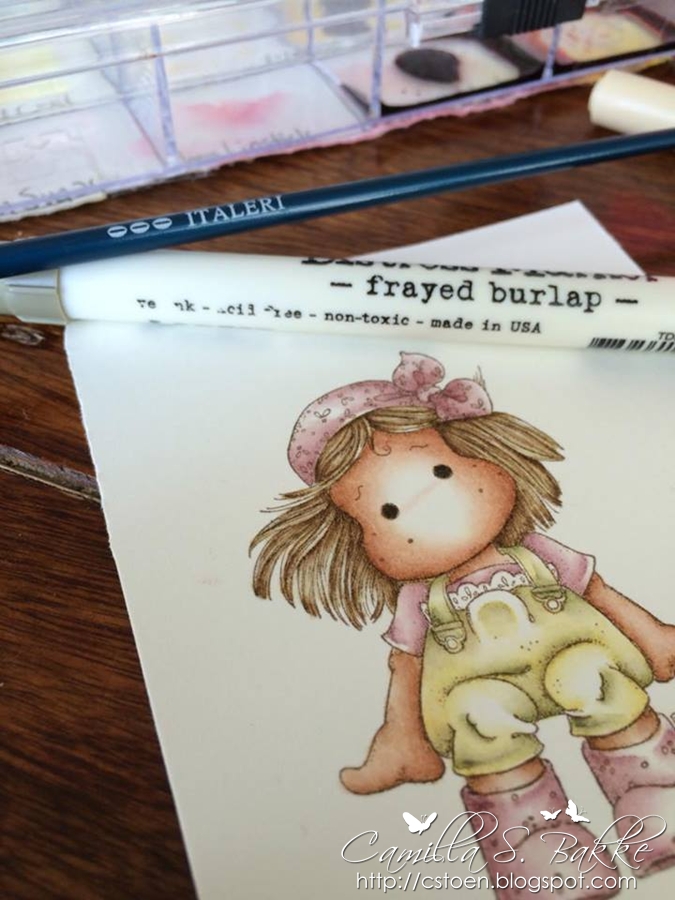
To make her skin look a bit darker under her hair on the forehead, and som places on her arms and legs, I use Tea Dye – Marker. I have only one photo of this 🙂
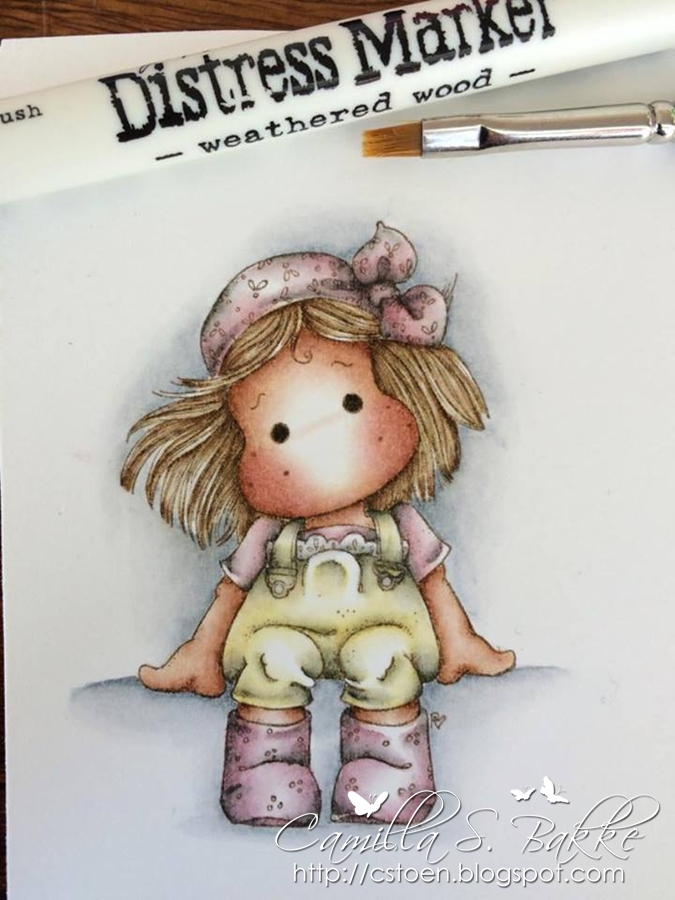
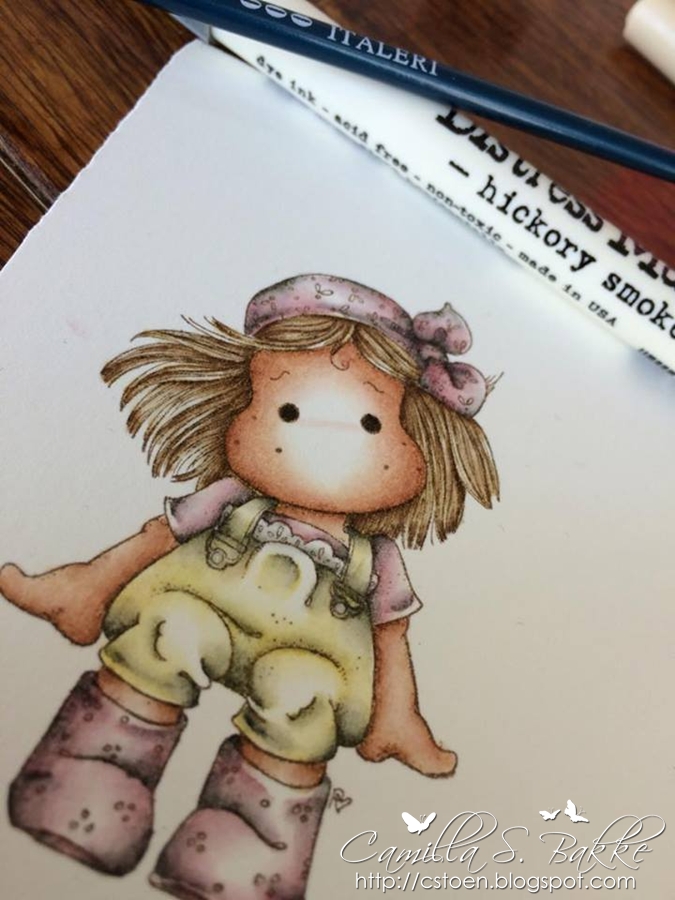
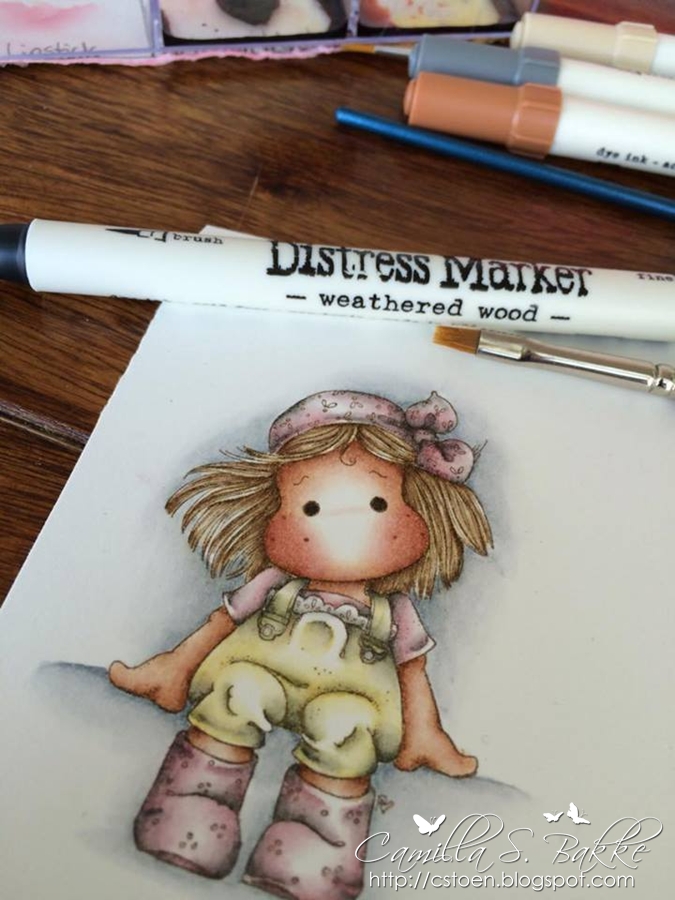
Then I start with the shadows around the image. And first the colour Weathered Wood – Markers. And I also use a flat wider brush.
And another angle.
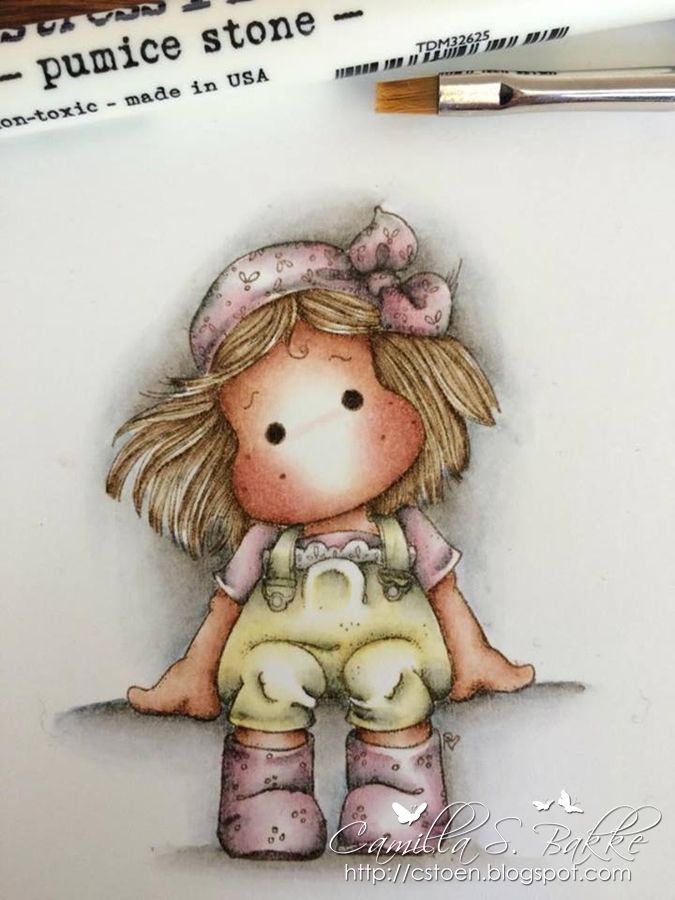
I then add Pumice Stone on the darkest places.
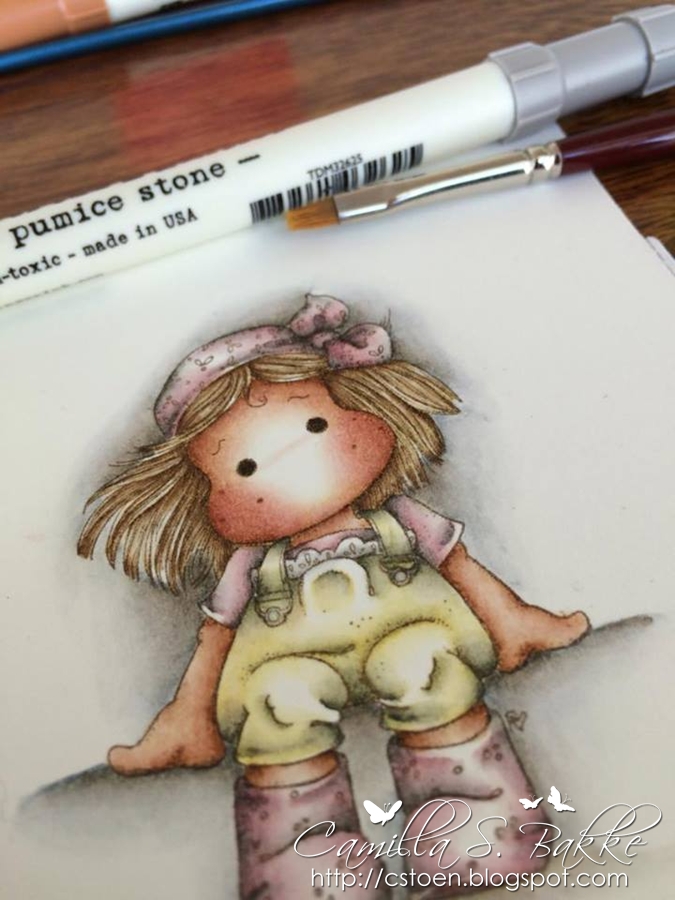
Another angle:)
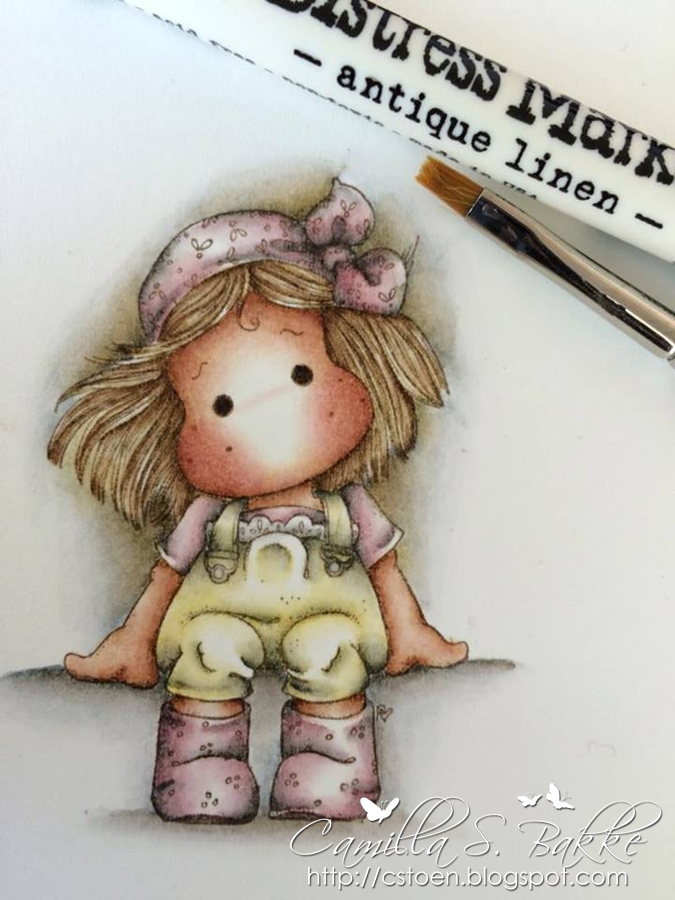
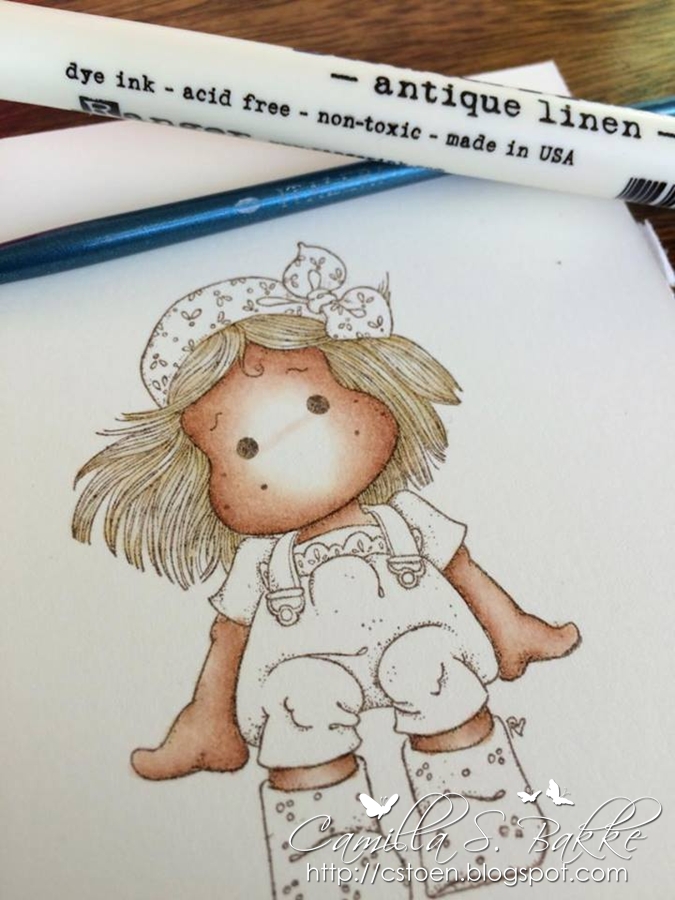
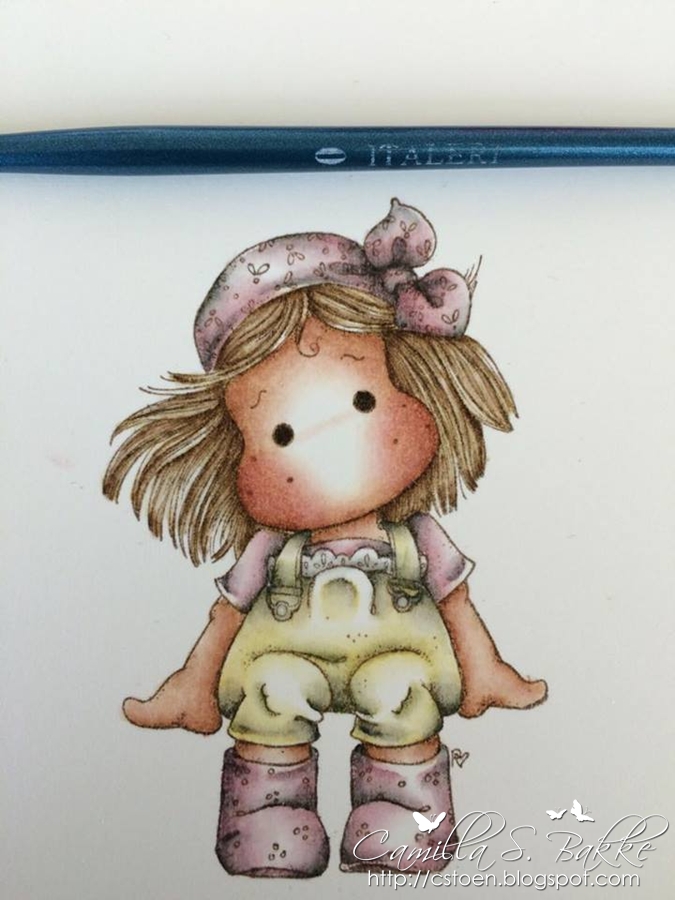
Then I add the last shadow colour: Antique Linen – Markers. To make it a bit lighter.
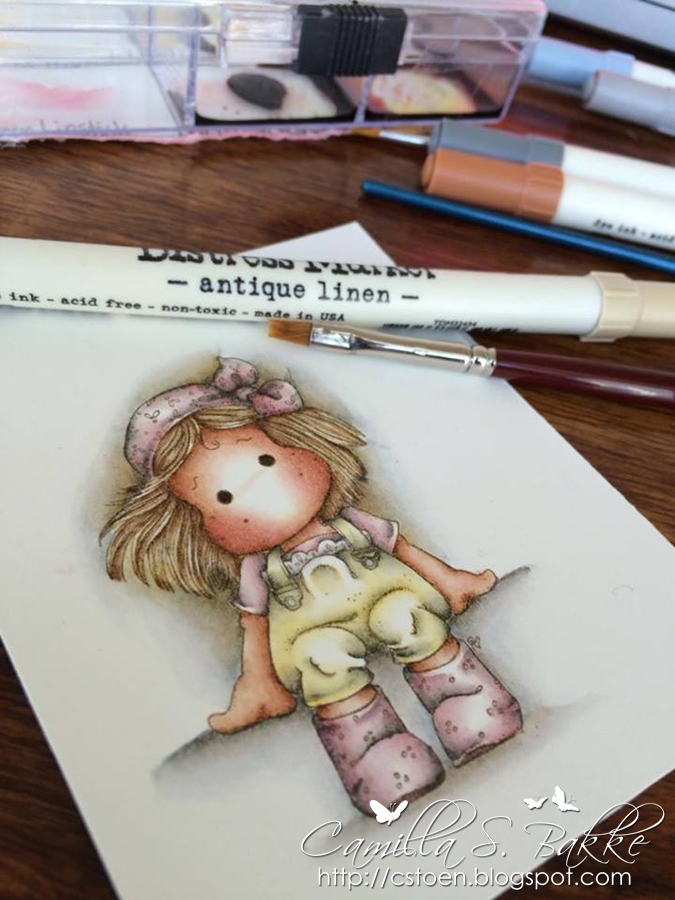
And at last, another angle 🙂
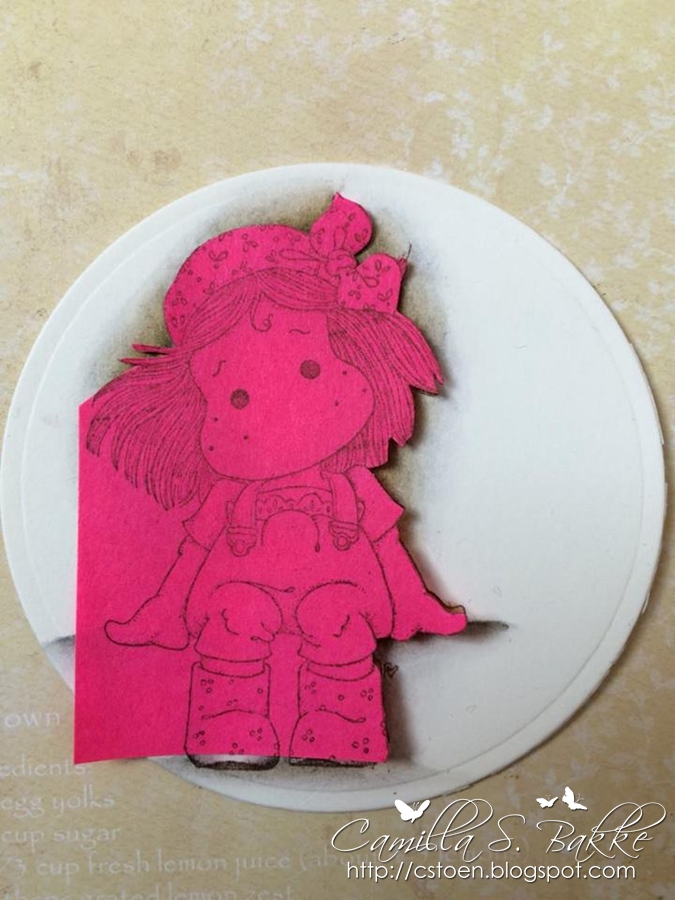
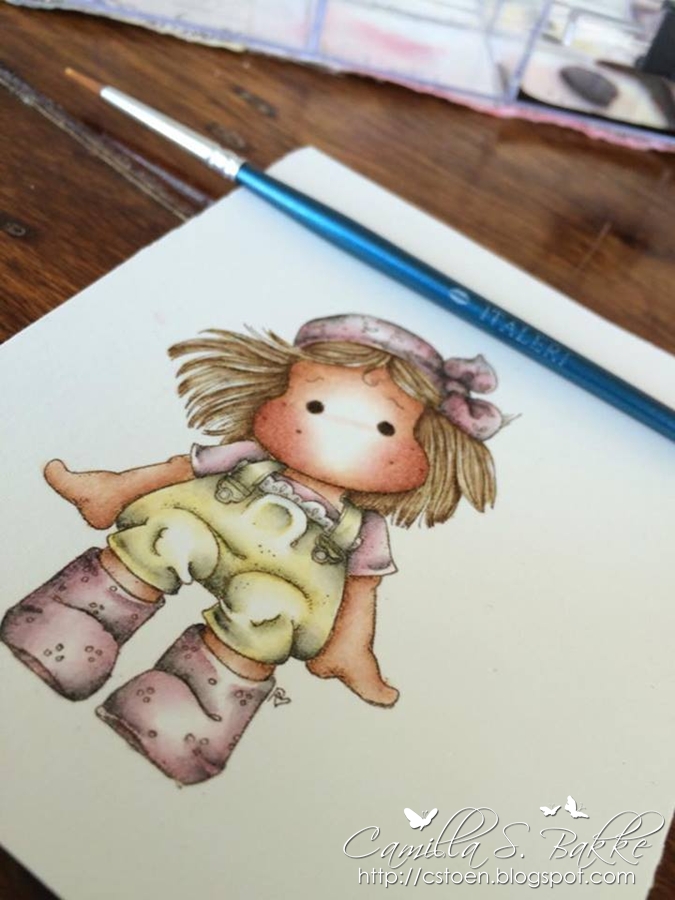
I will now add some text around Tilda; and mask her, so that she will not have any on her.
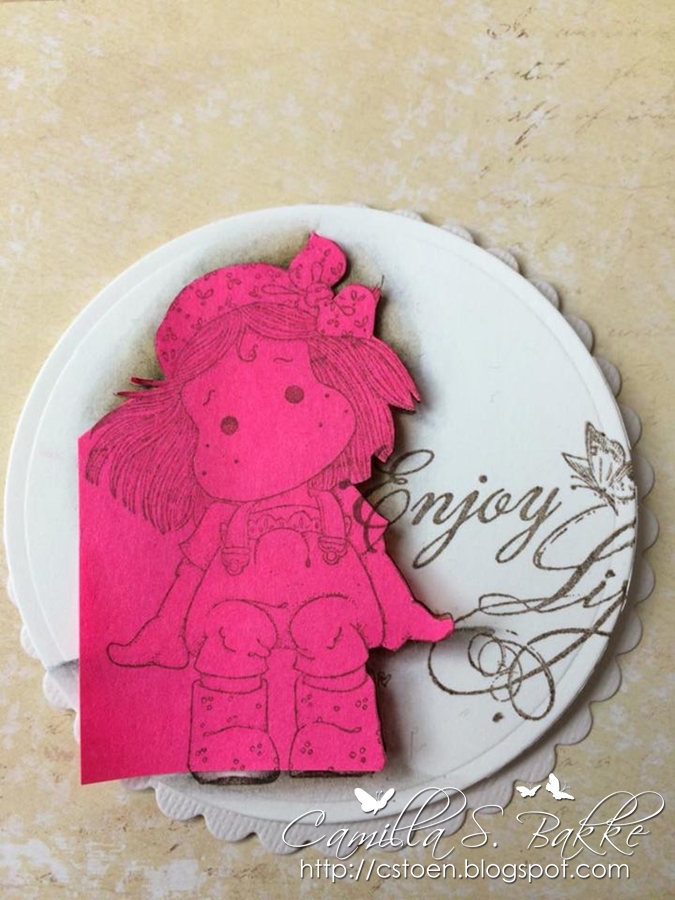
I have used a text from Stempelglede.
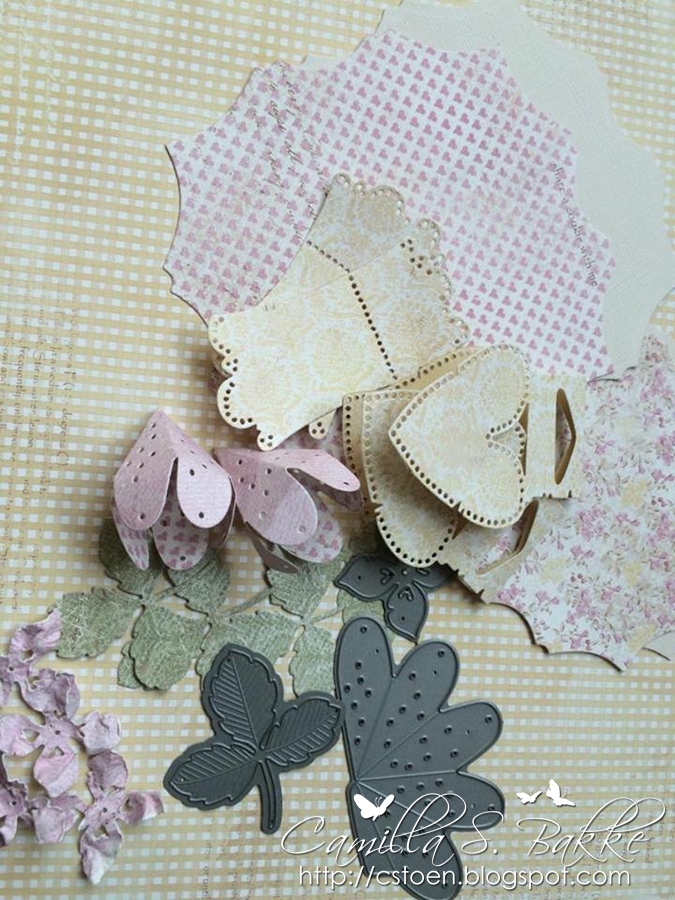
Here are the different dies I have used. Strawberry, Strawberry leaf, Tilda Ticket, So Wrapped Lovely.
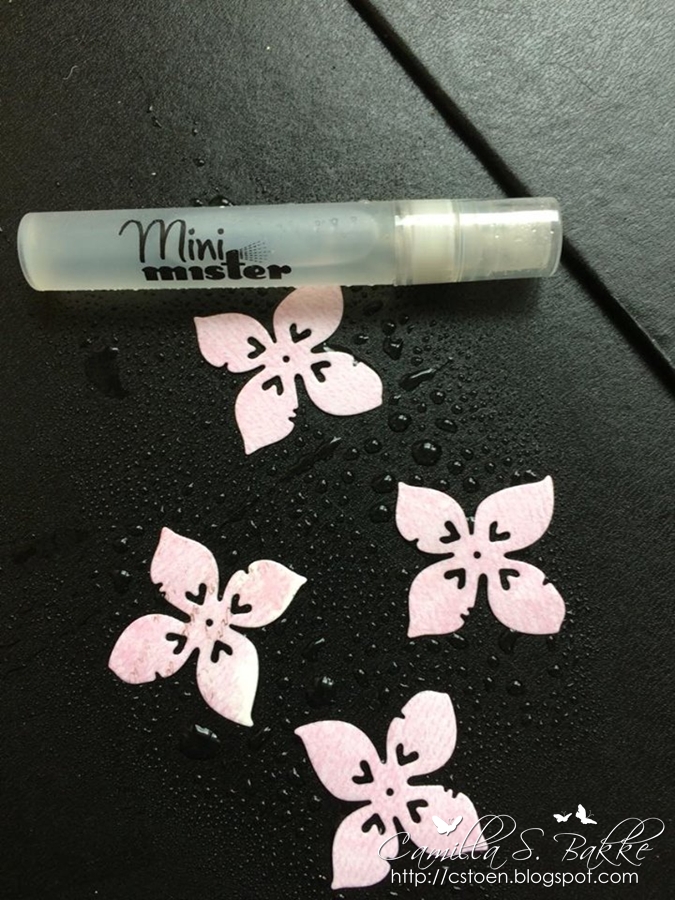
To curl up the flowers I haved added water on to them, then I curl them.
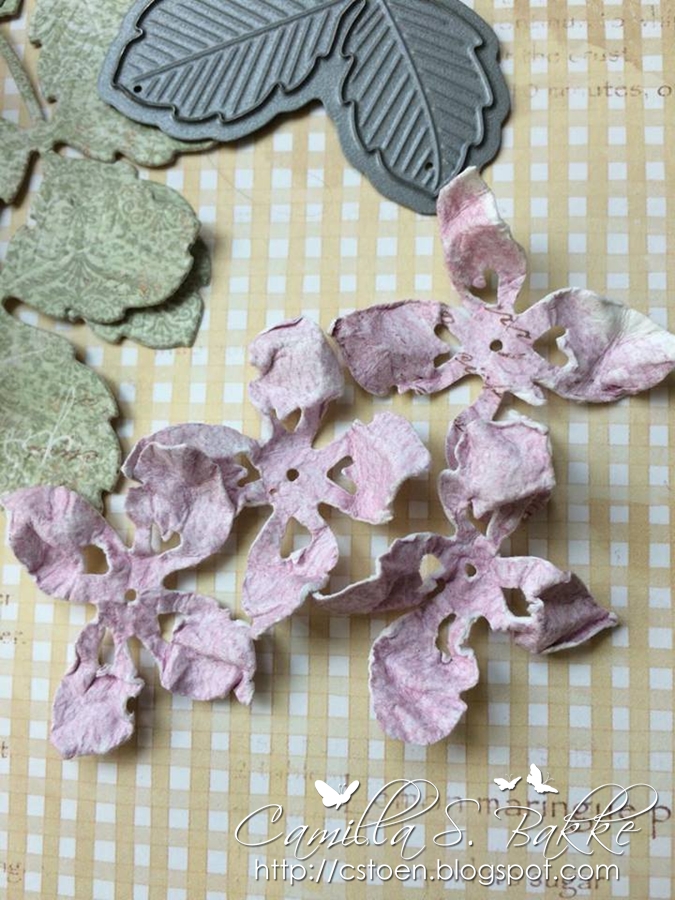
Here they are curled and dry.

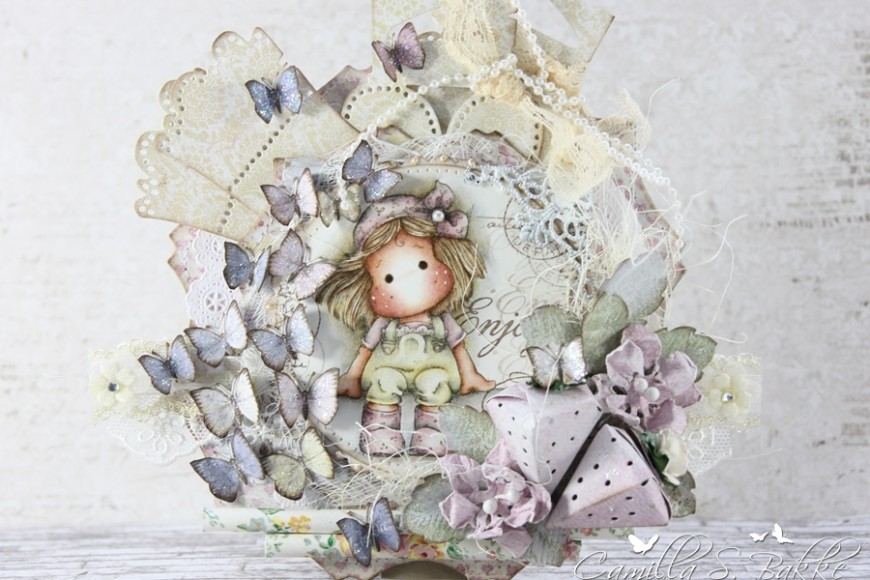
My finished card. I hope you like it!
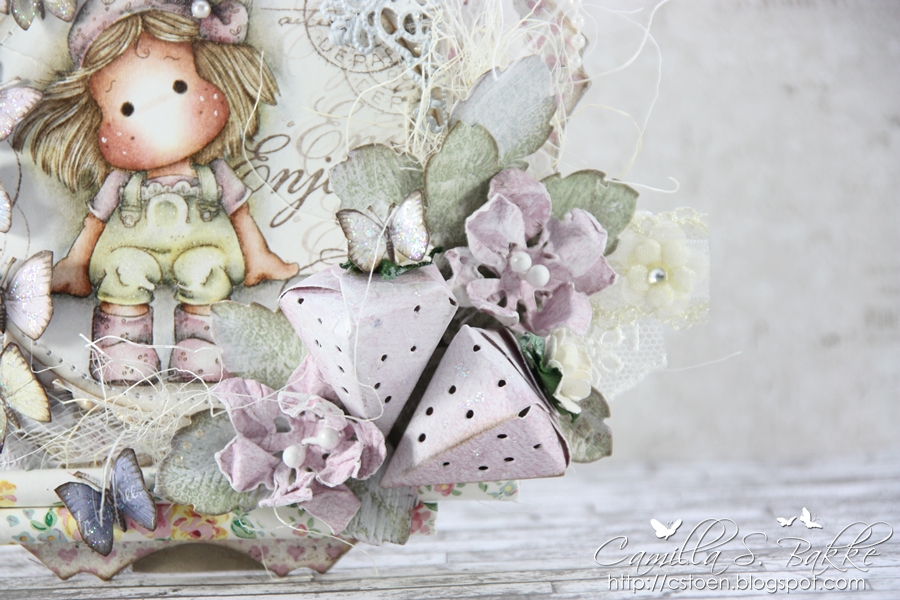
A detail photo of the strawberries and flowers.

And from another angle.
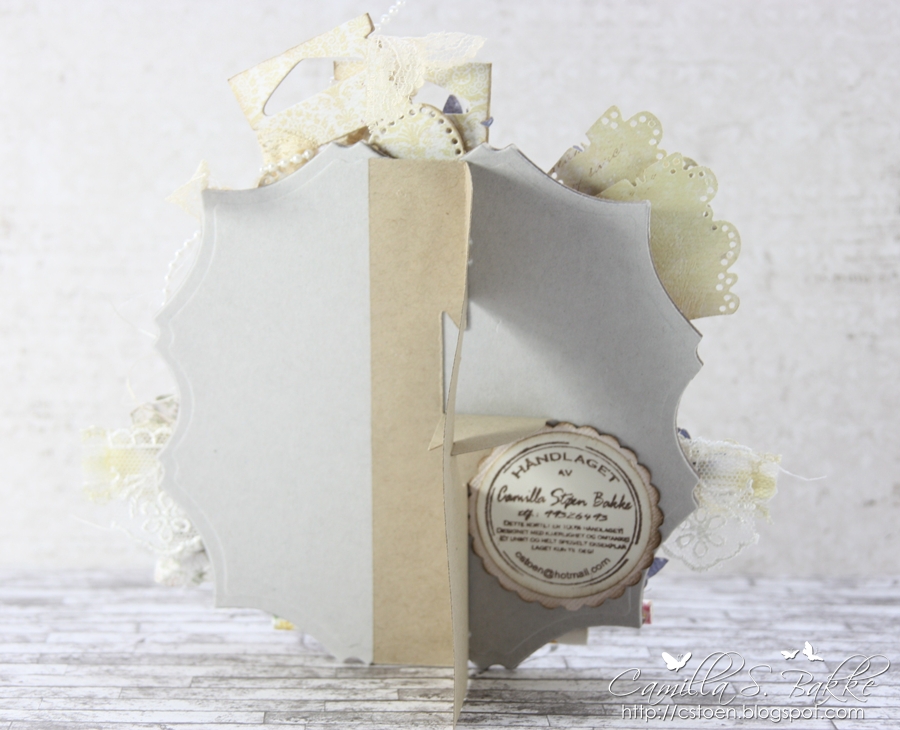
The back of the card.
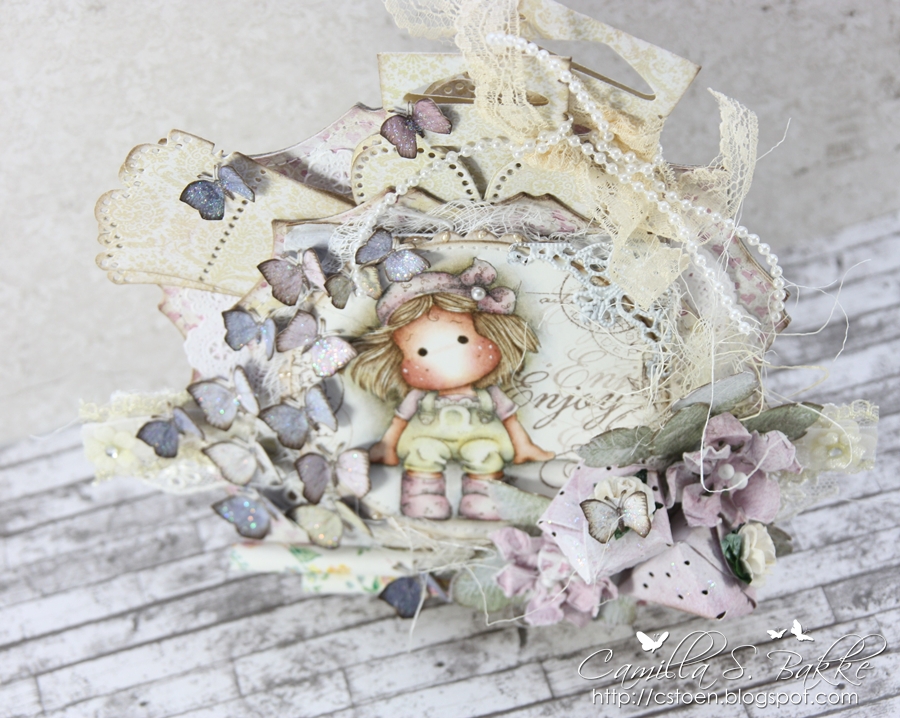
The card from above.
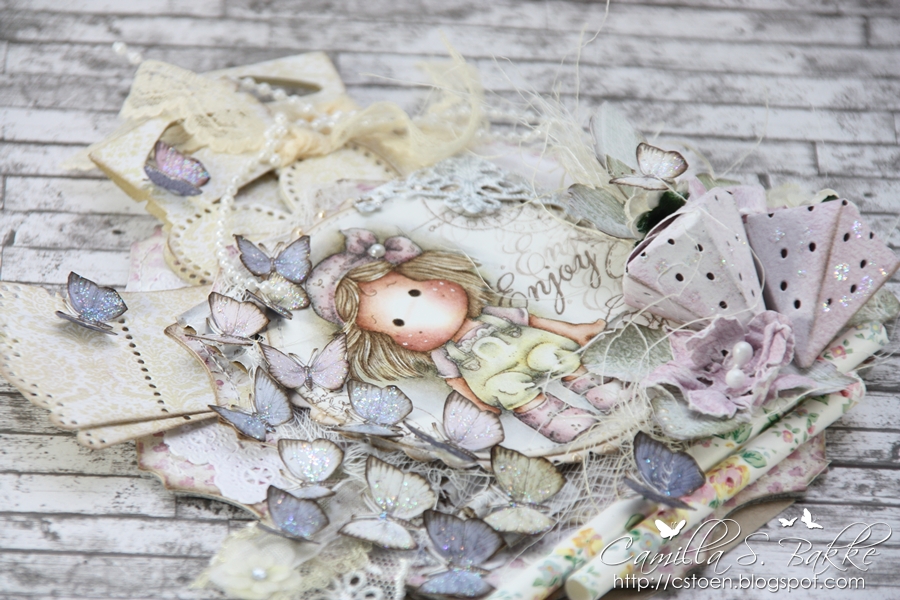
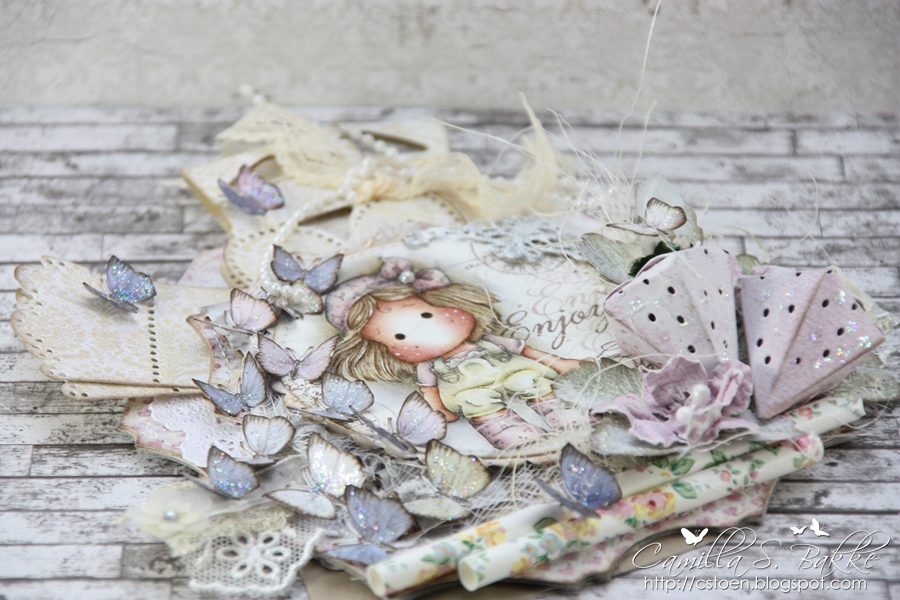
Tilda with a swerm of butterflies beside her.
Thank you so much for looking through my post. I hope that you got some tips and inspiration; and maybe want to try out the way I colour. Wish you a lovely weekend!
With love, Camilla S.
This is a wonderful tutorial on water coloring. Your step by step is SO helpful and I appreciate that you have included all the supplies. Your card is gorgeous! ♥
Thank you, will have a play with my tildas x
Thank you so much for the tutorial. I am new to these glorious little girls and excited to learn how to color them. I love the pink color you have made. Your card is so beautiful… love the flight of butterflies and the strawberries!!