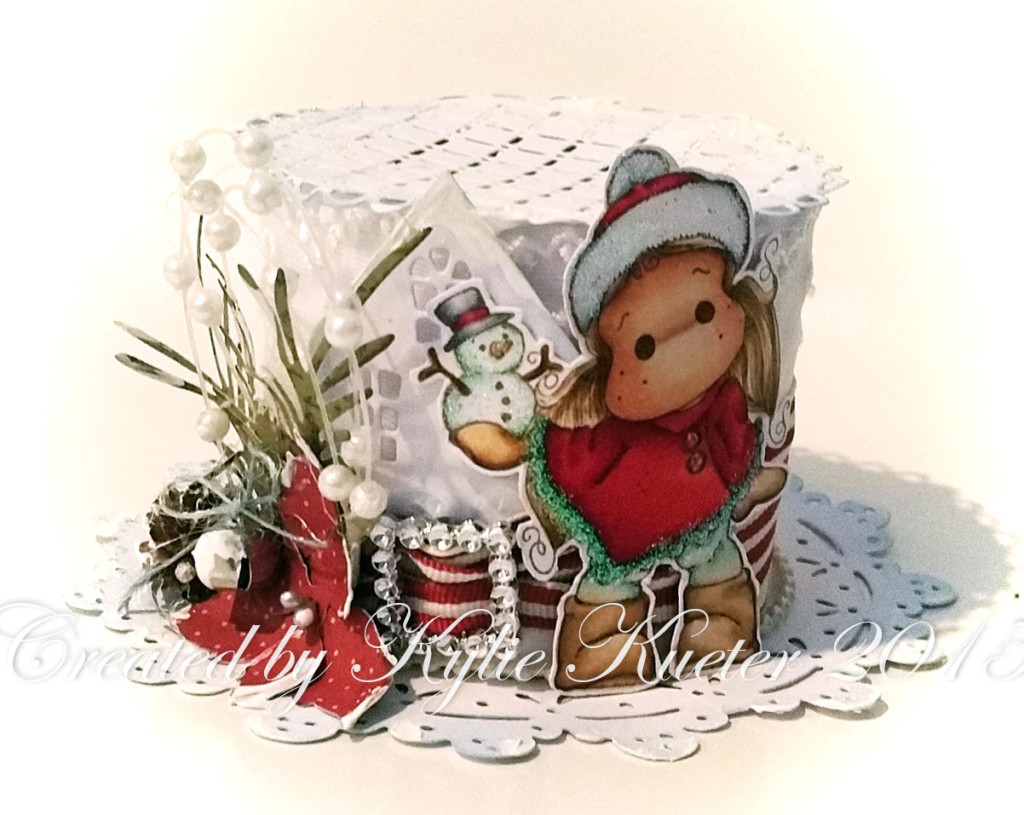
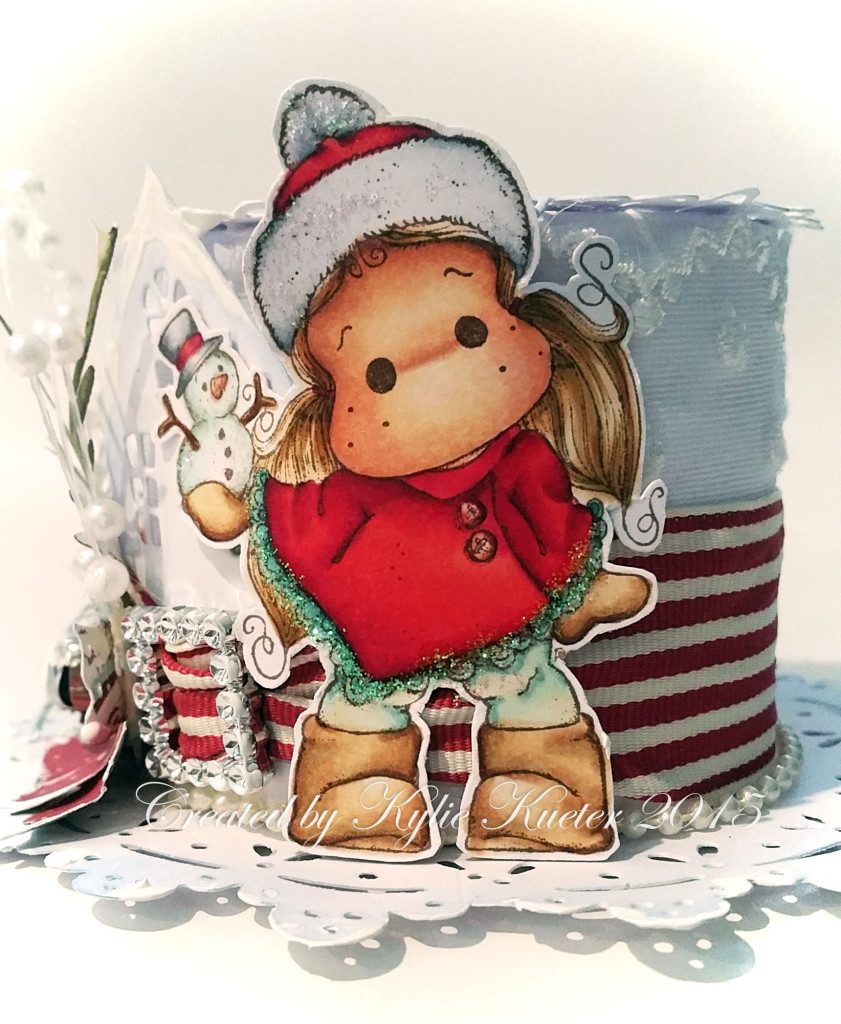
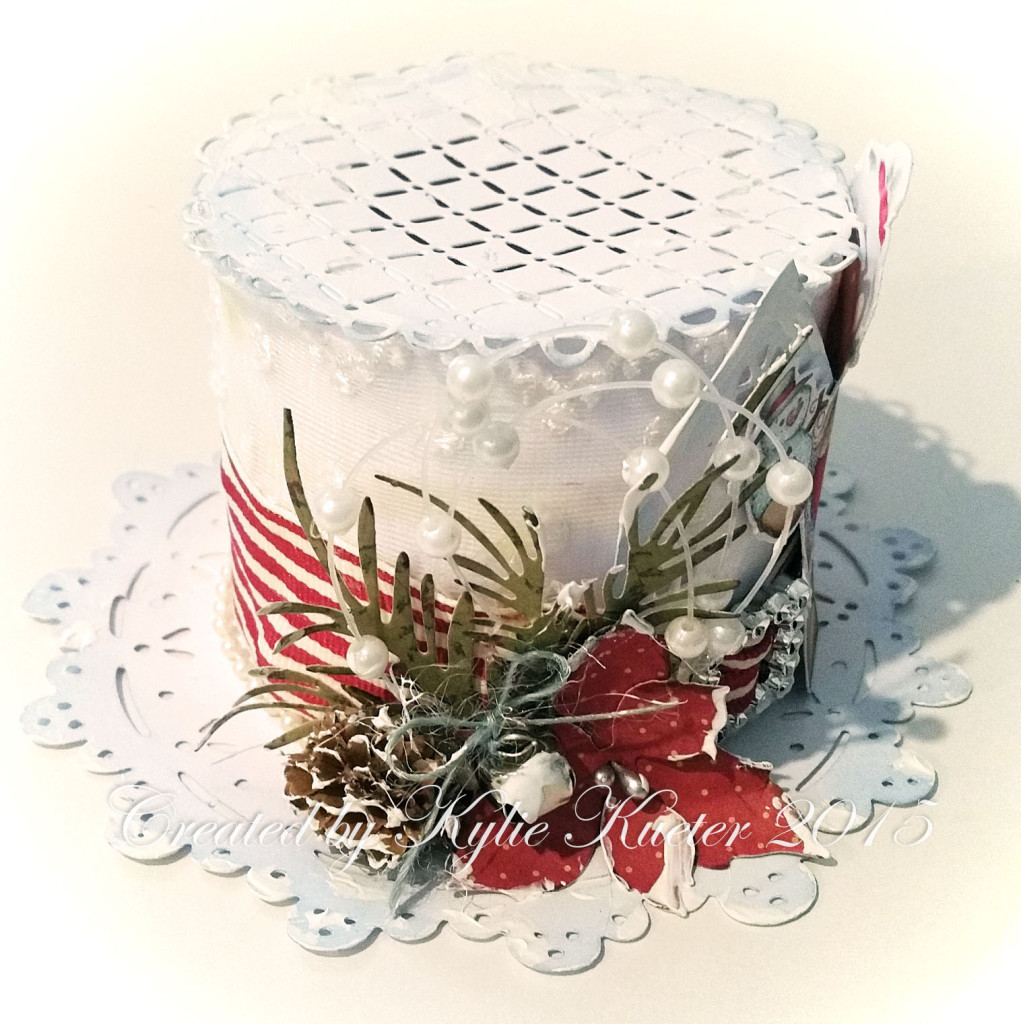
Frosty’s Hat
Hello Magnolia Friends! It is Kylie here today to share a little project that I have been working on.
I have used many Doo Hickey dies on my project along with one of the adorable new stamps.
So, how did I make Frosty’s hat?
It was really very simple:
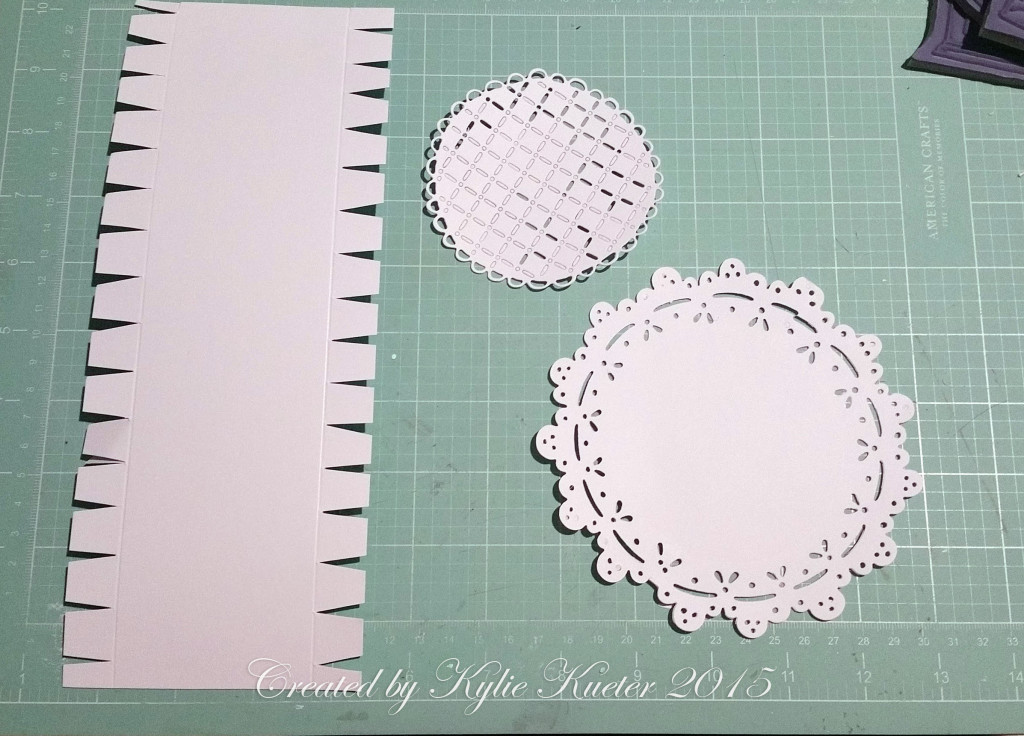
1. Using “Tilda Doily” die, cut out the bottom of the hat.
2.Cut another circle using Lace Coaster die.
3.Cut a strip of card stock 10.5″ long by 4″ wide. Score down both long sides 1/2″ from the edge and using scissors, cut notches up to the score line so you have little flaps.
4. Apply a strip of strong adhesive tape along one short edge of rectangle card stock piece and join to the other end to form a cylinder.
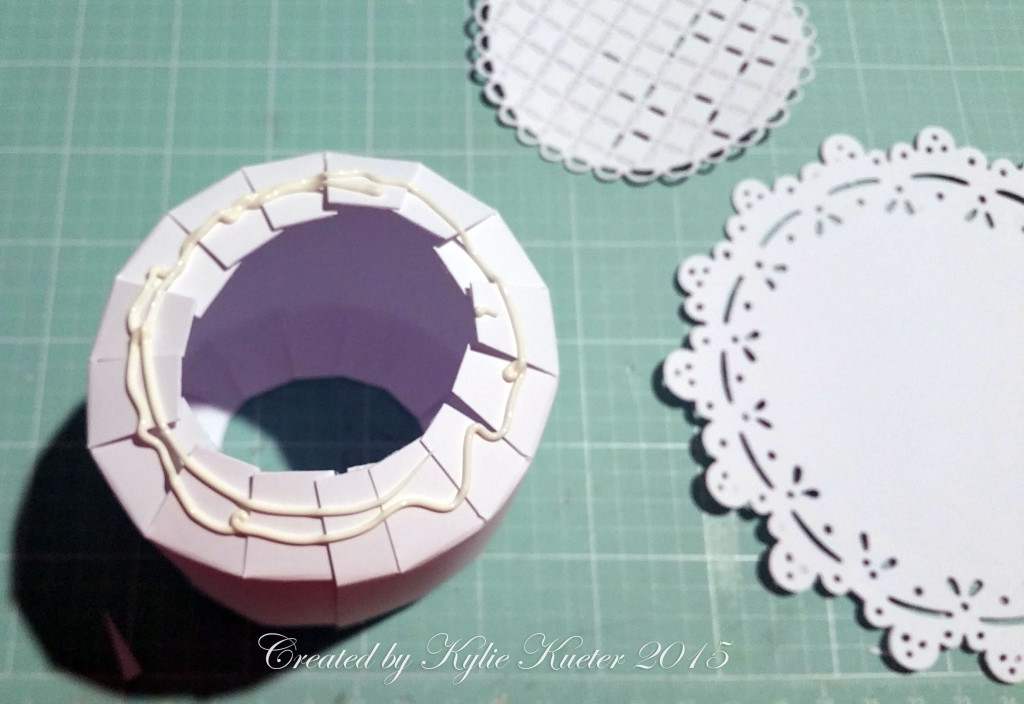
5. Fold in the tabs of the cylinder
6. Apply some craft glue to one end,
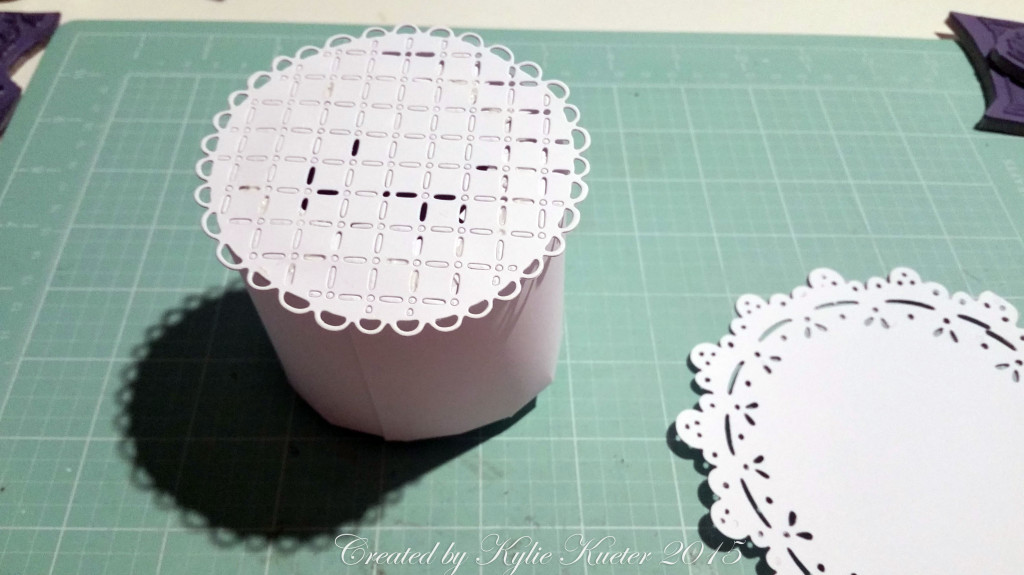
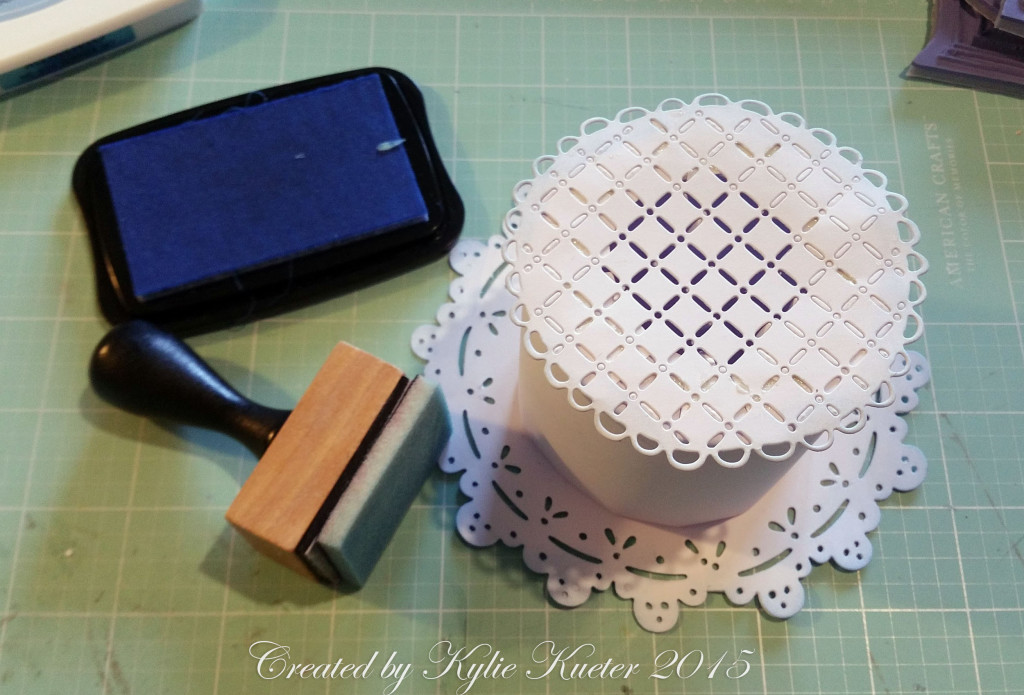
7. Carefully attach the Lace Coaster to the cylinder ensuring that the cylinder is even. Flip over and apply glue to the other end and attach the Doily.
8. Ink the edges of your little hat and it is ready to decorate….
I look forward to seeing your version of the little hat,
Happy Crafting, Kylie


This is just gorgeously sweet! Thank you for sharing it with us and showing us how to make it! Germaine